Publish an API(s)
In this tutorial, you’ll learn how to publish an API that you’ve onboarded to the Yappes Platform. If you haven’t onboarded an API yet, follow Onboard REST APIs or Onboard SOAP APIs. Otherwise, move to the steps below.
Note
Before you proceed with the steps, ensure you’re a user with the role of platform-admin or api-product-manager from an Internal Organization.
Publish paths
| Path | When to use |
|---|---|
Direct publish |
No approval workflow is attached to the API, or approval is not required for the change |
Submit for approval |
An approval Workflow is attached; see Pending Approvals |
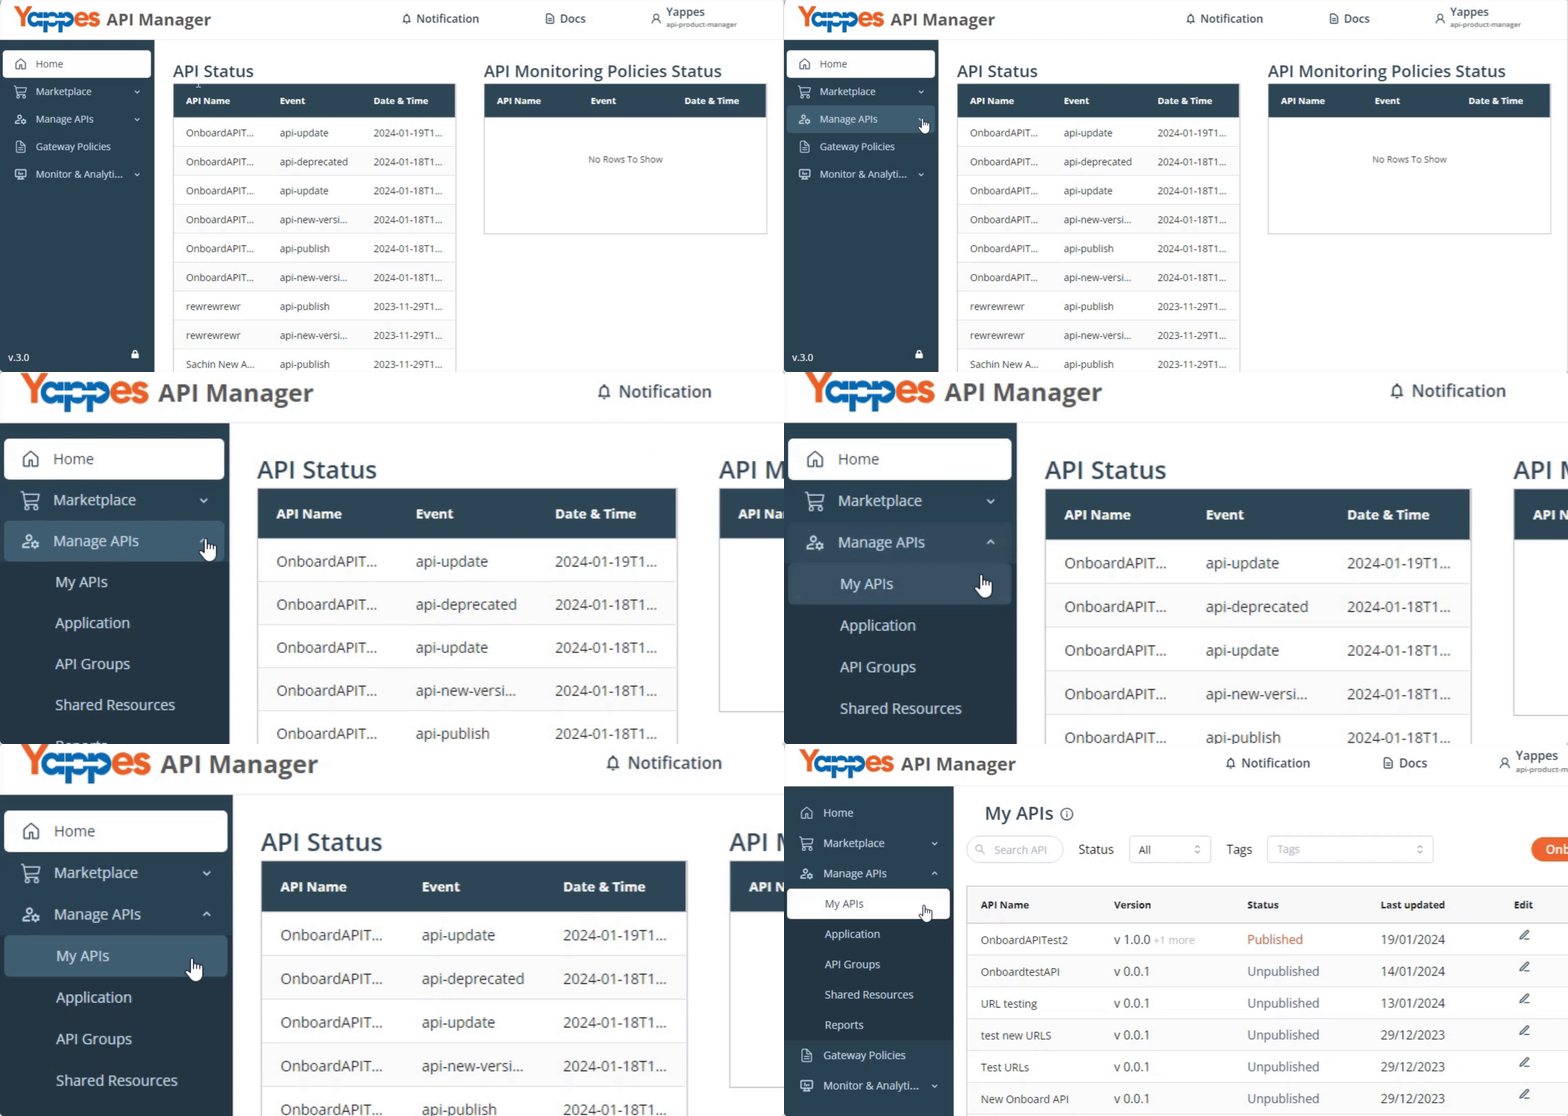
In order to publish an API, you need to access the unpublished APIs list and for that:
- Go to
Manage APIs→ selectMy APIs.
- Then, go to the
Editcolumn and click
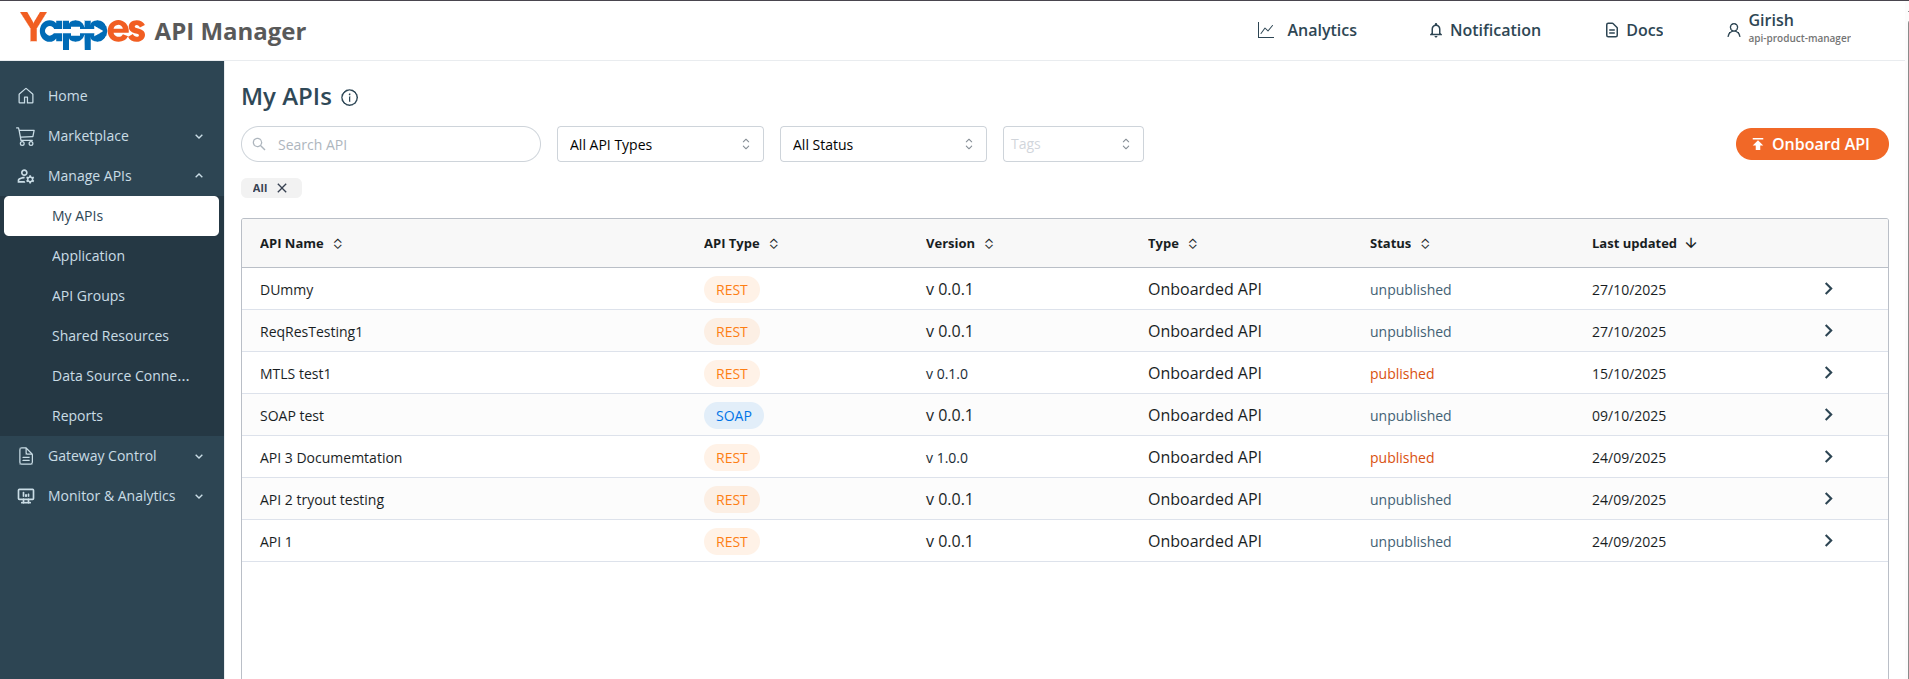
- It will open the API details page.
Direct publish
When no approval workflow is required:
- Click
Publish. - Select the change type:
Minor,Major, orPatch. - Click
Publish.
The API is published, the Unpublish button appears, and the My APIs Status changes to Published.
Submit for approval
When an approval workflow is attached and prerequisites are met (endpoint changes, marketplace tag, not already pending):
- Click
Submit for approval. - In the modal, select
Major,Minor, orPatch. - Click
Submit for approval.
After submission:
- The button changes to
Submitted & approval pending. - My APIs grid status shows
Approval pending. - Approvers process the request in Pending Approvals.
After publishing, you can view the API in the My APIs list:
Furthermore, it can be found in the API Listing of the Marketplace.

You’ve successfully published the API. These are all the steps you need to follow to publish an onboarded API.