How to create an API group
In this tutorial, you’ll learn how to create an API group. By using groups, it’s easier to apply subscriptions to the APIs and attach different security and usage monitoring policies. To learn more about groups, visit API Groups.
Info
Before you proceed with the following steps, ensure you’re a user with the role of platform-admin or api-product-manager.
Steps to create an API group
To create an API group, you need to:
- Access
Manage APIs→ selectAPI Groups.

- Click
:material-plus: Create API Group.
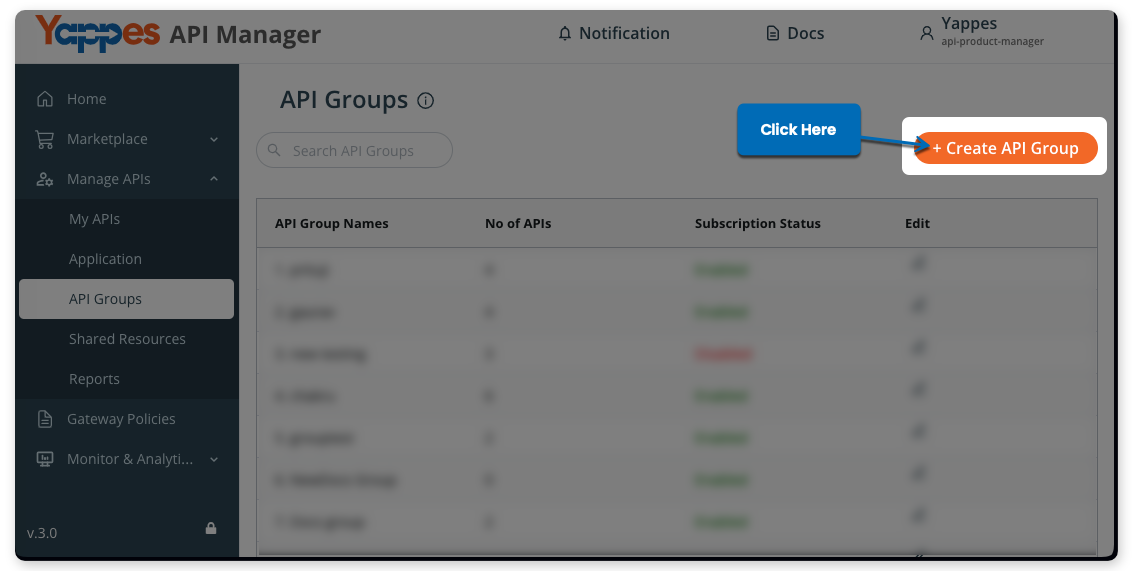
- In the
Create API Groupwindow:- Enter a unique name in
Group Name. - Enter a summary in
Description(max 500 characters). - Set
Subscription StatustoEnabledorDisabledto control whether the group is available for subscription. - Set
Group PrioritytoHigh priority enabledorHigh priority disabled. Priority decides which group’s policies apply when an API is in multiple groups.
- Enter a unique name in
Info
Fields with asterisk (*) are mandatory.
Note
By default, Subscription Status is Disabled and Group Priority is High priority enabled.
- Once done, click
Create.
The API group is successfully created and appears in the API Groups list.