Creating an Application
Overview
Application creation in API Manager is subscription-first: you select APIs or API groups, choose rate plans, and configure OAuth scopes (for Yappes OAuth-enabled APIs) before submitting the application for approval.
To learn more about Applications, visit the Application overview. For the full Yappes OAuth platform flow, see Yappes OAuth.
Path: Manage APIs → Application → Create Application
Prerequisites
| S. No. | Requirements |
|---|---|
| 1. | Platform-admin, owner, api-consumer, api-product-manager, community-manager, or api-developer role if you are part of an Internal Organization. |
| 2. | Owner or api-consumer role if you are part of an API Partner Organization. |
| 3. | Rate plans attached to the APIs or API groups you plan to select. See Rate Plans. |
| 4. | For Yappes OAuth-enabled APIs: OAuth 2.0 Configuration completed in the Admin Console. |
| 5. | An approval workflow may apply depending on your organization setup. |
Info
Fields with asterisk (*) are mandatory.
Step 1 — Access Application
- From your home screen, go to
Manage APIs → Application.
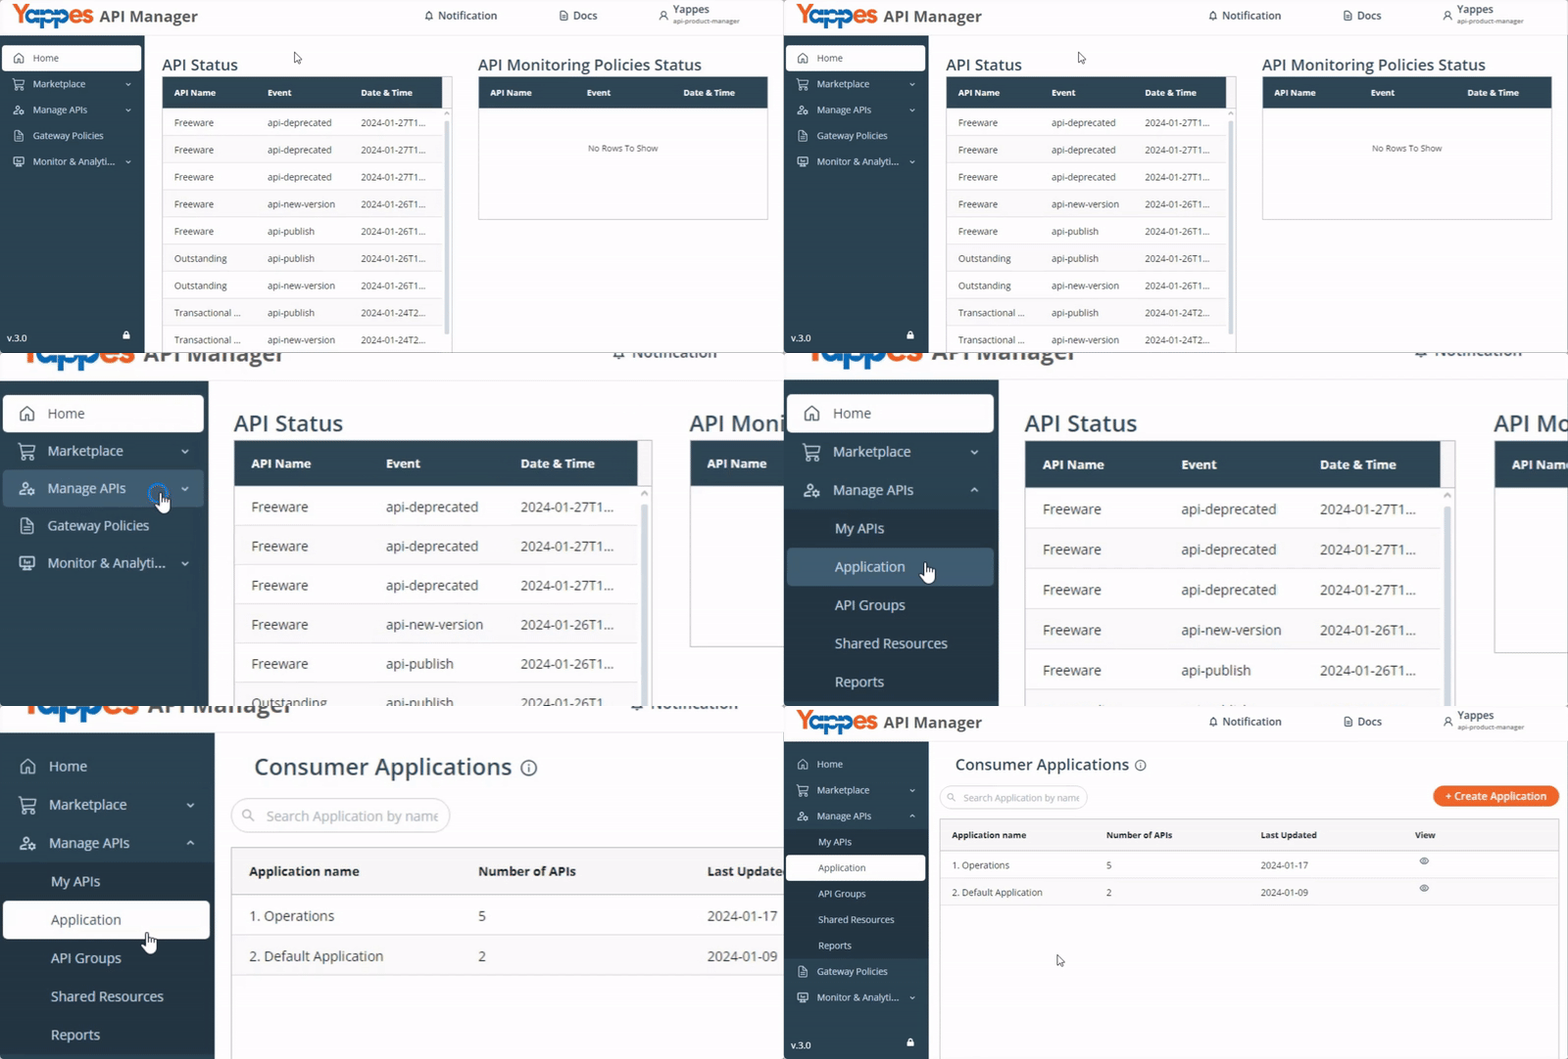
- The Application page lists the Default Application and any applications you have created, with:
- Application name
- Number of APIs
Submitted date & timeStatus(pending,approved,rejected,enabled, ordisabled)View— open application details
Step 2 — Open Create Application
-
Click
Create Application. -
The
Create Applicationmodal opens.
Step 3 — Fill application details
Enter the following fields in the modal:
| Field | Required | Notes |
|---|---|---|
| Application Name | Yes | |
| Description | Yes | |
| Select Environment | Yes | Gateway environment for the application |
| Attach to | Yes | API or API Group |
| Organization | Yes | Shown after Attach to is selected |
| Select APIs | Yes (API mode) | Multiselect — one or more APIs |
| Select API Group | Yes (group mode) | Multiselect — one or more API groups |
Note
API Group may be unavailable when you are in an API Partner organization context (for example, as a subscription owner). In that case, attach with API instead.
Step 4 — Select rate plans
After selecting APIs or API groups, choose a rate plan for each selection.
Toggle between:
Default Rate plans— select a rate plan pill on each API or API Group cardCreate Custom Rate Plans— define custom pricing attributes for the subscription
Note
At least one rate plan must be associated with each selected API or API Group.
See Rate Plans for how providers configure pricing.
Step 5 — Select OAuth scopes (Yappes OAuth)
When any selected API has Yappes OAuth enabled, an OAuth scope section appears below the rate plan area.
Attach to API
- OAuth-enabled APIs show a red info banner:
- "Yappes OAuth is enabled for this API. Click the API to view its scopes, deselect any scopes you don't need, and then create an application."
- Under
OAuth enabled API (Click API to view the Scopes), click the API pill. - The
Api Scope Detailsmodal opens for that API. - Check or uncheck scopes in the
Scopesection. - Click
Save.
Attach to API Group
- Each API Group card shows an OAuth banner when the group contains OAuth-enabled APIs:
- "Yappes OAuth is enabled for the APIs in this group. Click an API to view its scopes, deselect any scopes you don't need, and then create an application."
- Pills list
individual OAuth-enabled APIswithin the group (not the group name itself). - Click an API pill to open the
Api Scope Detailsmodal for that API. - Check or uncheck scopes, then click
Save.
Api Scope Details modal
| Element | Behavior |
|---|---|
| Title | API name |
| Info banner | "Yappes OAuth is enabled for this API, Select or unselect scope to create an Application" |
| Scope list | Checkbox grid with scope name and description |
Save |
Disabled when no scopes are available |
| Empty state | "No scopes available for this API." |
Note
If you never open the scope modal for an OAuth-enabled API, all scopes for that API are included by default when you submit the application.
Step 6 — Custom Attributes (optional)
Under Custom Attributes (Optional), you can add key/value pairs used by gateway policies and plugins.
- Click
Add Attributesto add a row. - Enter a
KeyandValuefor each attribute. - Remove a row with the remove control on that row.
Note
Custom attributes are optional. Incomplete rows or duplicate keys block submit until fixed.
Step 7 — Submit for approval
- Click
Submit for Approval. - The button shows
Submitting for Approvalwhile the request is processing. - On success, the application appears in the Application list with its approval status.
Next steps
- Track approval status in
Approval Workflow → Pending Approvalsor wait for notification. - After approval, view OAuth client credentials in My Subscriptions for Yappes OAuth subscriptions.
- To try out APIs with an application, see How to use an application.
- To update scopes or subscription details later, see Application Details.